Pottery is an art form that has stood the test of time. At Odd Pots, this craft is celebrated in every piece. The process begins with selecting the right kind of clay. Wedging the clay in preparation for the wheel and throwing it to form its unique shape.
But the journey from clay to pot is not always smooth, failures are as much a part of the process as successes. Each crack, each unexpected collapse, is a lesson in perseverance and creativity. These 'failures' are not merely setbacks but stepping stones that lead to unique creations, each with its own story.
So, let's begin.
Disclaimer
I am not a pottery tutor, nor would attempt to teach. So please seek professional advice if you're interested in learning how to make pottery.
I too am still perfecting these skills as I learn and develop. For now, this is my step-by-step process for making a cylinder shape - the basis for all great pottery creations.
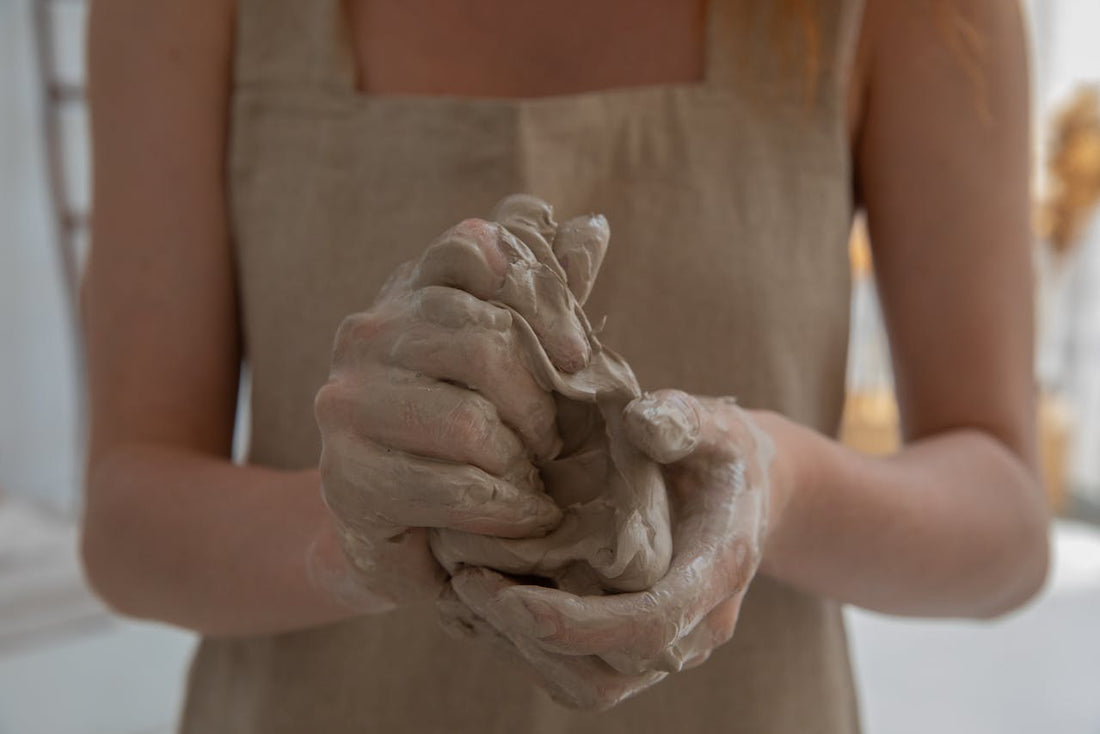
1. Wedging
Wedging clay is a crucial process in pottery that ensures uniform consistency and removes air bubbles. There are a few ways to wedge clay. This post talks to 'Rams head' wedging, or Croissant as i like to refer to it (you'll see what i mean when you try it). It's how I learnt, but practice whatever feels right for you.
To wedge clay effectively, begin by cutting a lump of clay in half with a wire tool. Slam down your piece of clay on the wedging surface. You don't need to slam it, but it's fun.
Placing both palms on either side, wrists parallel to each other, pull the clay towards you as you push down, folding it as you go and forming the shape of a rams head. This action helps to remove air pockets and align the clay particles. Then, keep repeating this process several times until the clay feels smooth and cohesive.
Once wedged, fold the nose of the ram over the horns and slam down on all sides until all lines are removed. This part does actually require slamming. Once you've cut your clay to your desired weight, you can pat and shape it into a ball or cone using your palms, ready for the wheel. I aim for anything between 400 - 500g of clay to make a cylinder. Don't go too heavy at first, or you'll end up in a wrestling match with the wheel. Go too small and its fiddly work.
2. Setting up the wheel
Make sure your wheel is dry to the touch. Grab a bucket of water and two sponges - one to mop up excess water and one to help you pull the walls. Get your tools ready. You will need a cutting wire, a skirting knife and if you're really prepared, and a rib.
Once prepped, slam the piece of clay into the centre of the wheel. You can reposition it if your aim is a bit off.
Turn the wheel on. Foot pedal at the ready. Now you're ready to throw.
3. Centering
Centering clay is a fundamental skill in pottery that establishes a stable foundation for creating symmetrical and balanced forms on the pottery wheel.
To centre clay, start by spinning the wheel at a fast speed. Put your foot on that gas! Going too slow makes it harder to centre, and risks misshaping the clay by isolating pressure points. Keep your elbows locked at your hips and angle your body towards the clay without causing yourself back pain. Keeping your elbows locked helps to centre your body. Your body does most of the work, while your hands guide the clay.
With your left palm, place it at the base of the clay while pushing your right fist down on the top edge of the clay. Keep your left palm locked in, and move your fist back and forth over the top of the clay, applying pressure with your left hand. This motion encourages the clay to rise and find its centre. As the clay becomes more pliable, maintain steady pressure and using your bucket of water and sponge keep the clay moist to prevent it from drying out.
Centering clay demands focus, sensitivity to the clay's response, and consistent practice to achieve precision and control on the pottery wheel. So don't be disheartened if it takes a while to master.
There is also the coning process to centre clay, often used for larger pieces of clay to give the potter more control on the wheel.
4. Dig in!
No, don't eat the clay. Digging in is a term used when you push into the middle of your clay with your fingers once it has been centred, to find the base of your pot. To start digging into centred clay, take your foot off the gas and slow the wheel down.
Take your forefinger and middle finger pointed together on each hand, thumbs upright. Overlap your fingers on top of each other and create a shallow indent at the centre of the clay mound, ensuring it remains centred on the wheel head. Gradually increase the pressure and depth of your fingers as you push down. You are finding the base of your pot, so don't push too far. To test this, stop the wheel and use a needle to stab the bottom of your pot - the clay mark will show you how far you've gone.
Once you've dug in, keep your trigger fingers in position and pull the wall towards you, placing your thumbs over the rim of the clay to keep it smooth. Maintain even pressure until you've reached the desired size of base. The clay should still have a uniformity in thickness at this point.
Pulling out the base requires a delicate balance of pressure and precision to avoid distorting the shape or destabilising the clay.
Once wide enough to see the base, take your sponge and apply a light pressure, smoothing as you go. This helps to compress the base of the pot and avoid any cracks.
5. Pulling the walls
Yes, you've made it! Now we get to shape our pot.
As the wheel spins (still slowly), place both palms either side and apply an even, light pressure to create a volcano shape. As you progress you can create your volcano by pulling the walls. But let's not get ahead of ourselves.
Once the volcano has formed, place your smaller sponge on the outer base of the clay and push in gently with your right hand. As you do this, your left hand should be inside the pot, connecting with your right hand at the same point.
As you apply pressure with your right imagine you are trying to scoop up the clay, while you apply pressure with your left to keep the walls straight. With a sensitive touch, gradually pull the walls of the clay upwards, letting your fingers follow each other up the walls.
Wow, this is hard to explain in words!
Control the speed of the wheel and the pressure exerted on the clay to maintain even thickness and shape throughout the cylinder. Adjusting the pressure and angle of your hands allows for the creation of various vessel shapes and forms. Practice and patience are essential in mastering this technique. So be patient, we're not looking for perfection here.
Once the walls are at the height you want them, take your forefinger and gently place it on the rim of your pot as the wheel spins. This compresses the clay so the top of the pot isn't too thin.
You can replace your pulling sponge with a rib and gently graze the sides of the pot to remove any slip (wet excess clay). This smooths the pot to make it easier to trim and can also help shape. It's not essential, so feel free to skip this bit when you're starting out.
This last step is very important. You may notice you have a lot of excess water inside the base of your pot. Keep the wheel at a slow spin and use your sponge to dab this dry. Removing excess water helps the drying process, avoiding a soggy base or cracks when fired.
6. Skirting
Once you're happy with your odd creation, you can take the skirt of clay off the base to help remove the pot from the wheel. Take your Potter knife and hold it as you would a pencil. Dig into the outside base of your pot until you hit the wheel. Then, place the knife flat at the base of your skirt until it starts to lift. Pull the skirt off by hand.
Once the skirt is off, stop the wheel and add water to the wheel head. This ensures the pot doesn't stick to the wire. Then take your wire, make it taught and run it through the base of your pot, outwards towards your body. It's tempting to do this slowly, but it makes it worse. If you do this quickly it ensures you don't slice off the base of your pot. We like odd, but there's a fine line.
7. Taking your pot off the wheel
Dry your hands and carefully grip both sides of your pot. Spin the wheel slightly as you pull the pot off the wheel. And voila! You have a pot.
The next part of the process is waiting for your pot to become leather-hard before trimming off the excess clay. This is a fun, but dangerous part of the process.
And on that cliffhanger, I'll see you in the next blog.